




This guide demonstrates the Audi Bosch MED17.5 TC1766 ECU data reading and writing using KEYMASTER G3.
Required Equipment
OBDSTAR X300 Classic G3
MP001 Programmer
High-Power DC Regulated Power Supply
Main Cable
Jumper Wires
Audi Bosch MED17.5 TC1766 ECU
It is recommended to update the KEYMASTER G3 software to the latest version before performing any operation.
1. Select the Correct ECU
Launch the KEYMASTER G3 software and enter the [ECM] menu. Search for the corresponding ECU model from the database, then tap [Start].
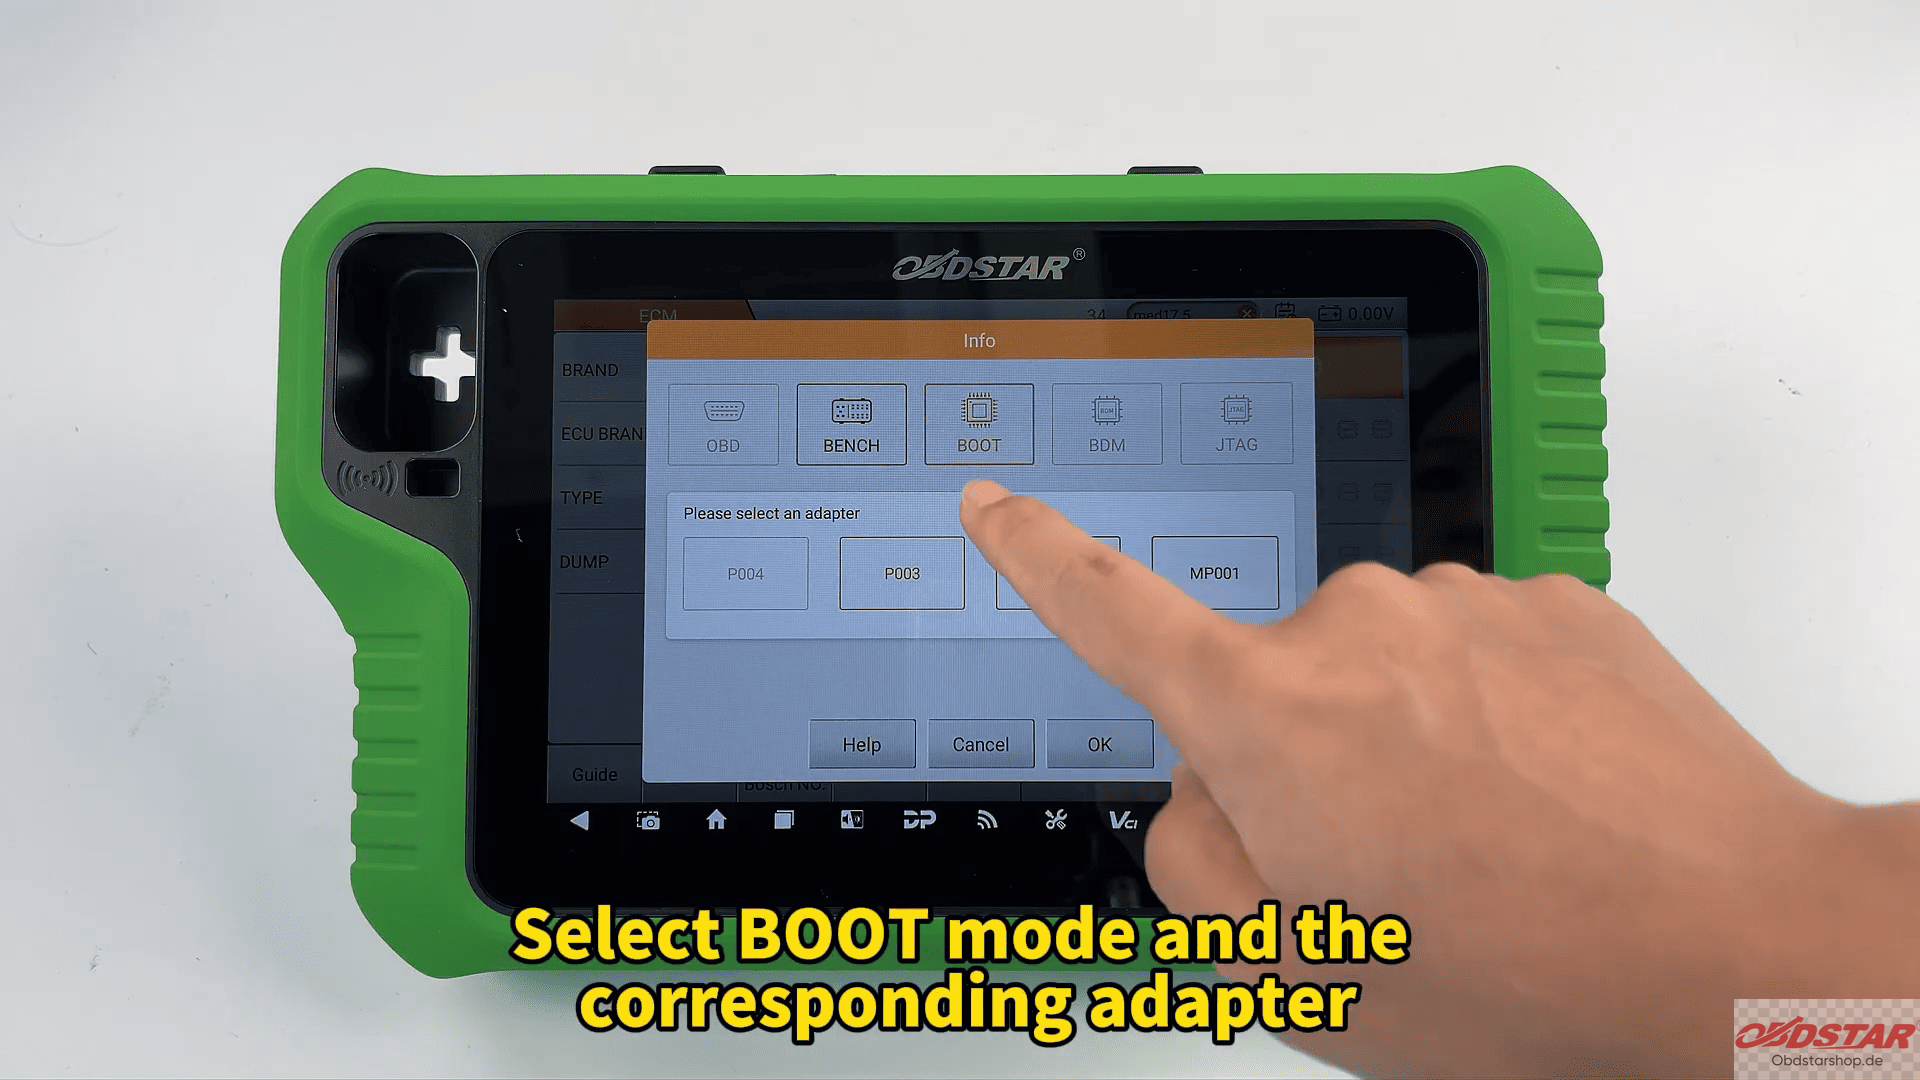
Choose [BOOT Mode] and select the appropriate adapter according to the device instructions.
2. Verify Wiring Information
Before making any connections, open the [Guide] section to review operation notes, wiring instructions, and adapter information.
- Check the [ECU Image] to confirm the physical appearance matches your module.
- Open [PCB Pinout] and solder the BOOT wire according to the diagram.
- Review the [Connector Pinout] and complete all wiring connections correctly.
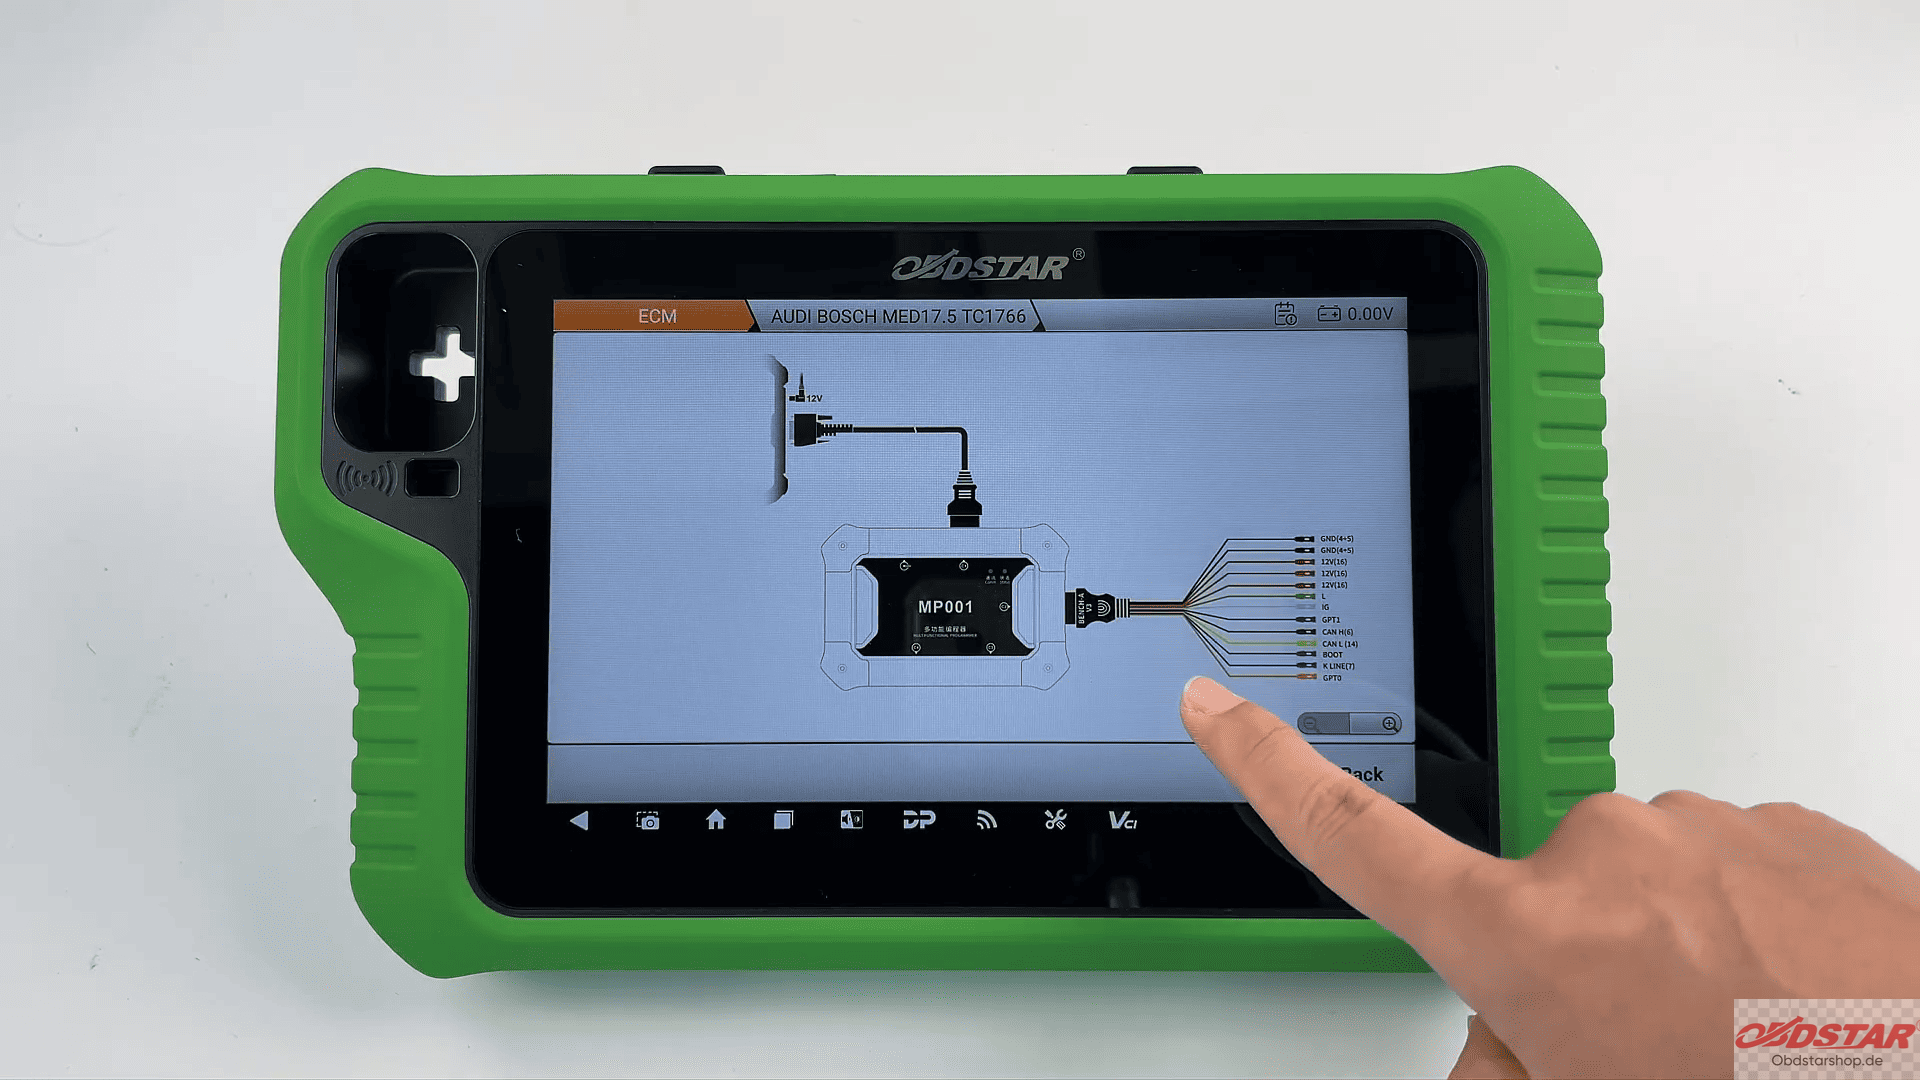
Once finished, connect the MP001 programmer to OBDSTAR G3 and establish communication.
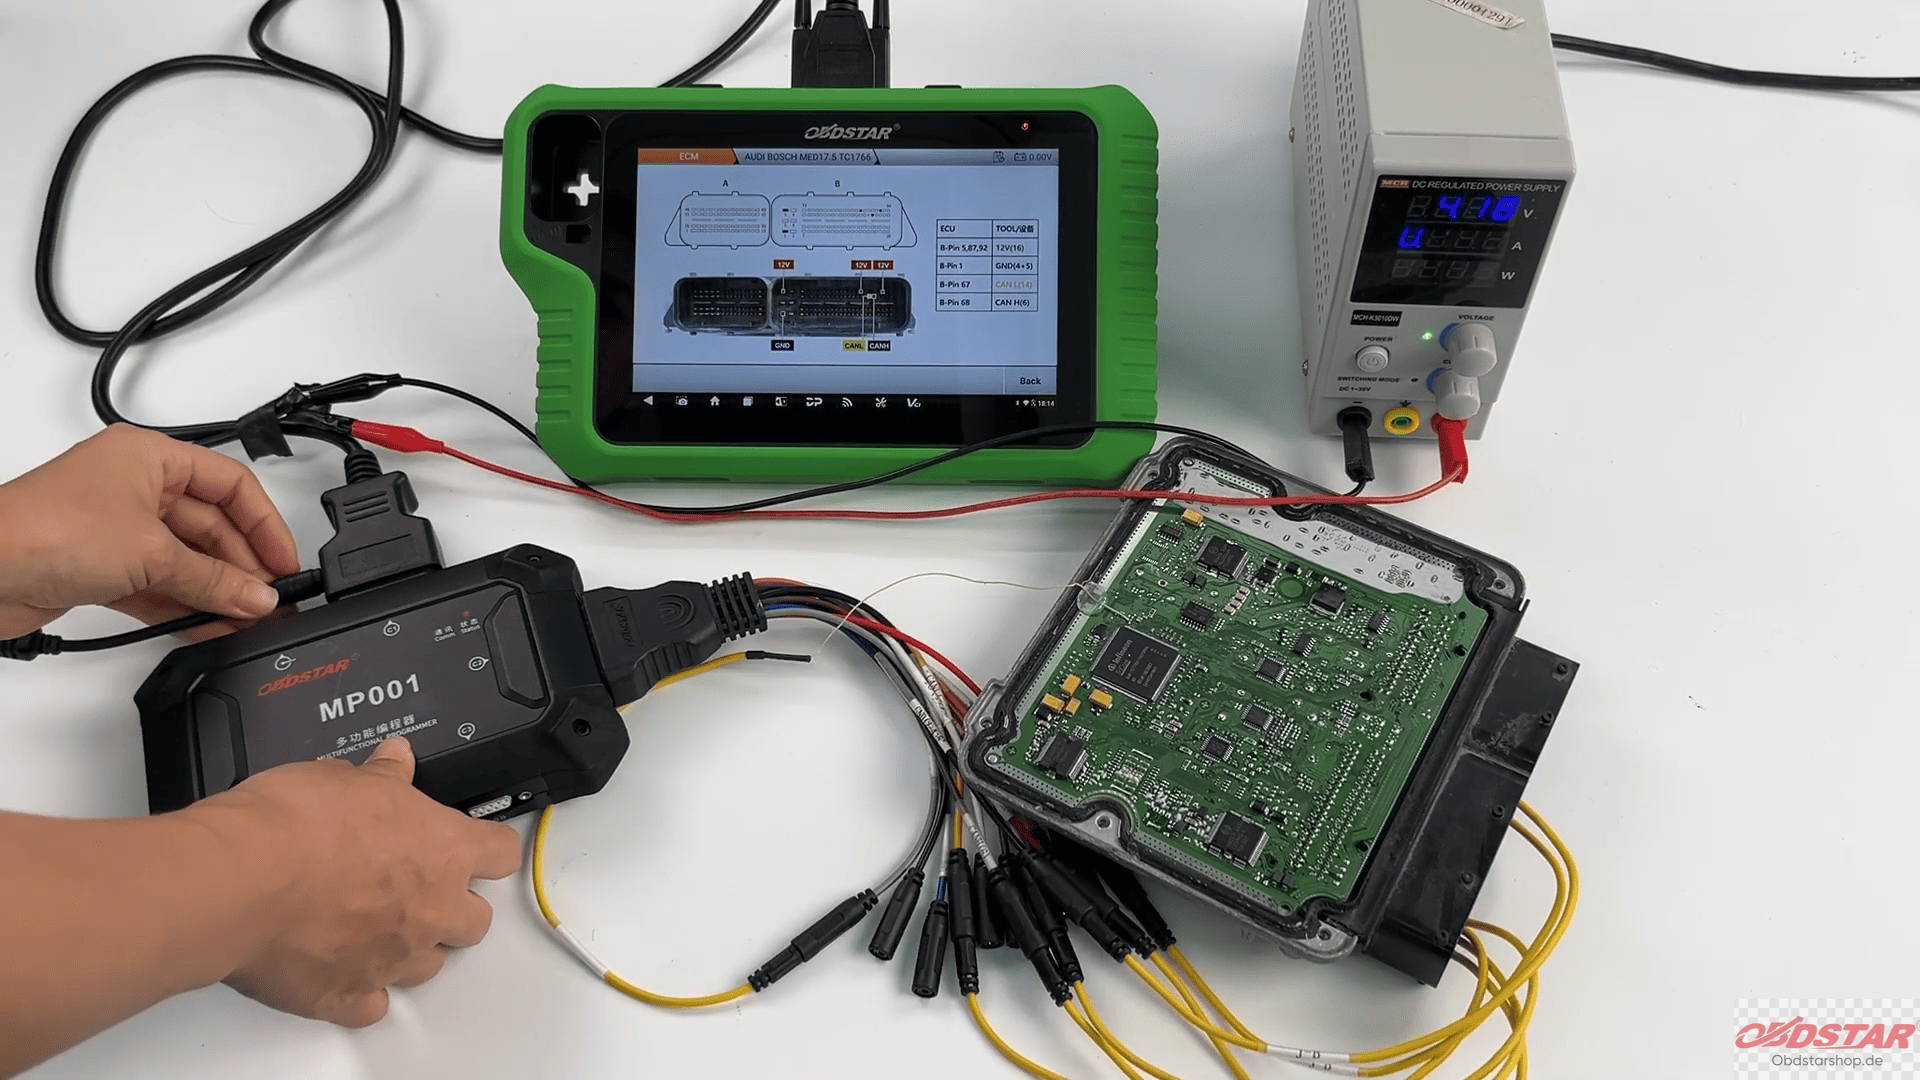
3. Back Up Original ECU Data
With the ECU connected, begin reading the EEPROM data.
Rename the backup file for easier identification and save it securely.
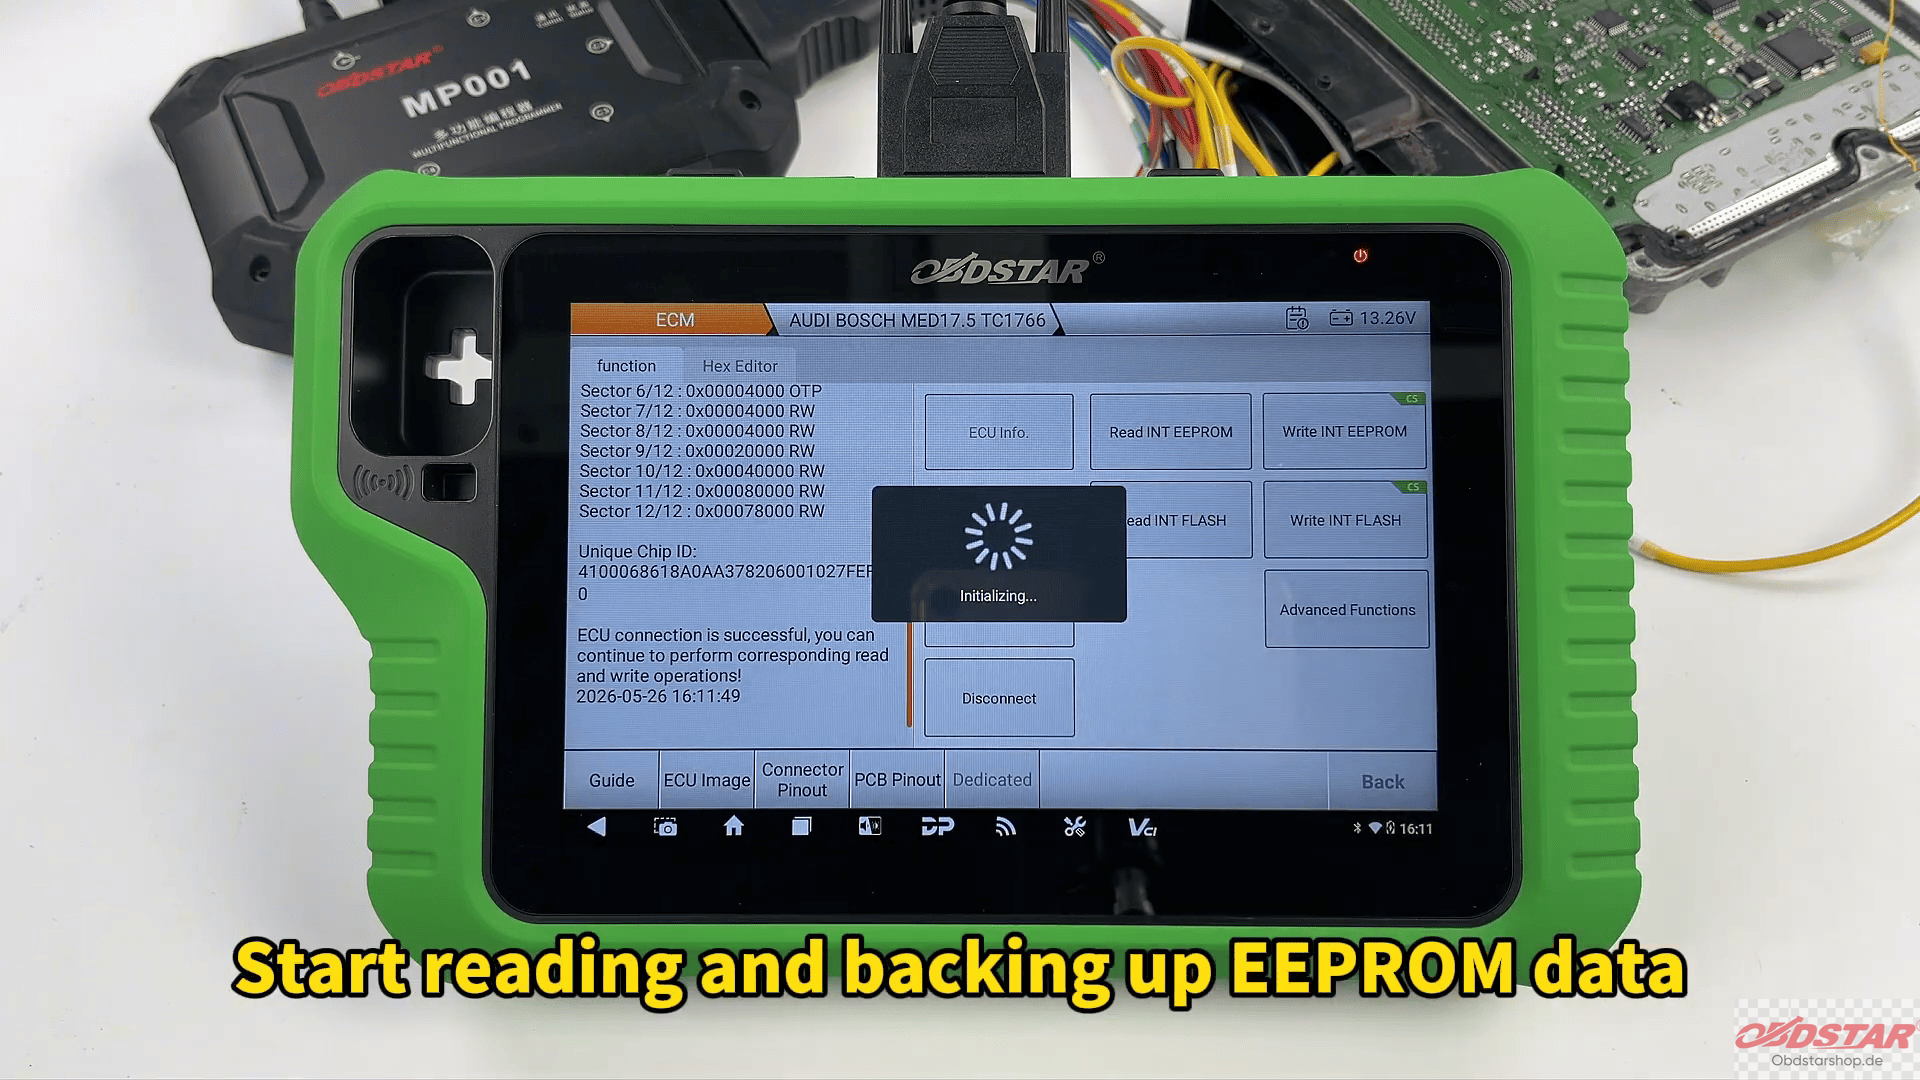
Repeat the same procedure to read and back up the FLASH data. Having complete backups provides an important safeguard before any modification or cloning operation.
4. Read the Replacement ECU
Disconnect the original ECU and install the replacement unit.
Connect it using the same wiring method and perform EEPROM and FLASH backups as well. Store these files separately for future reference.
5. Perform ECU Cloning
Open [Advanced Functions] and select [INT EEPROM Data Convert (CLONE)].
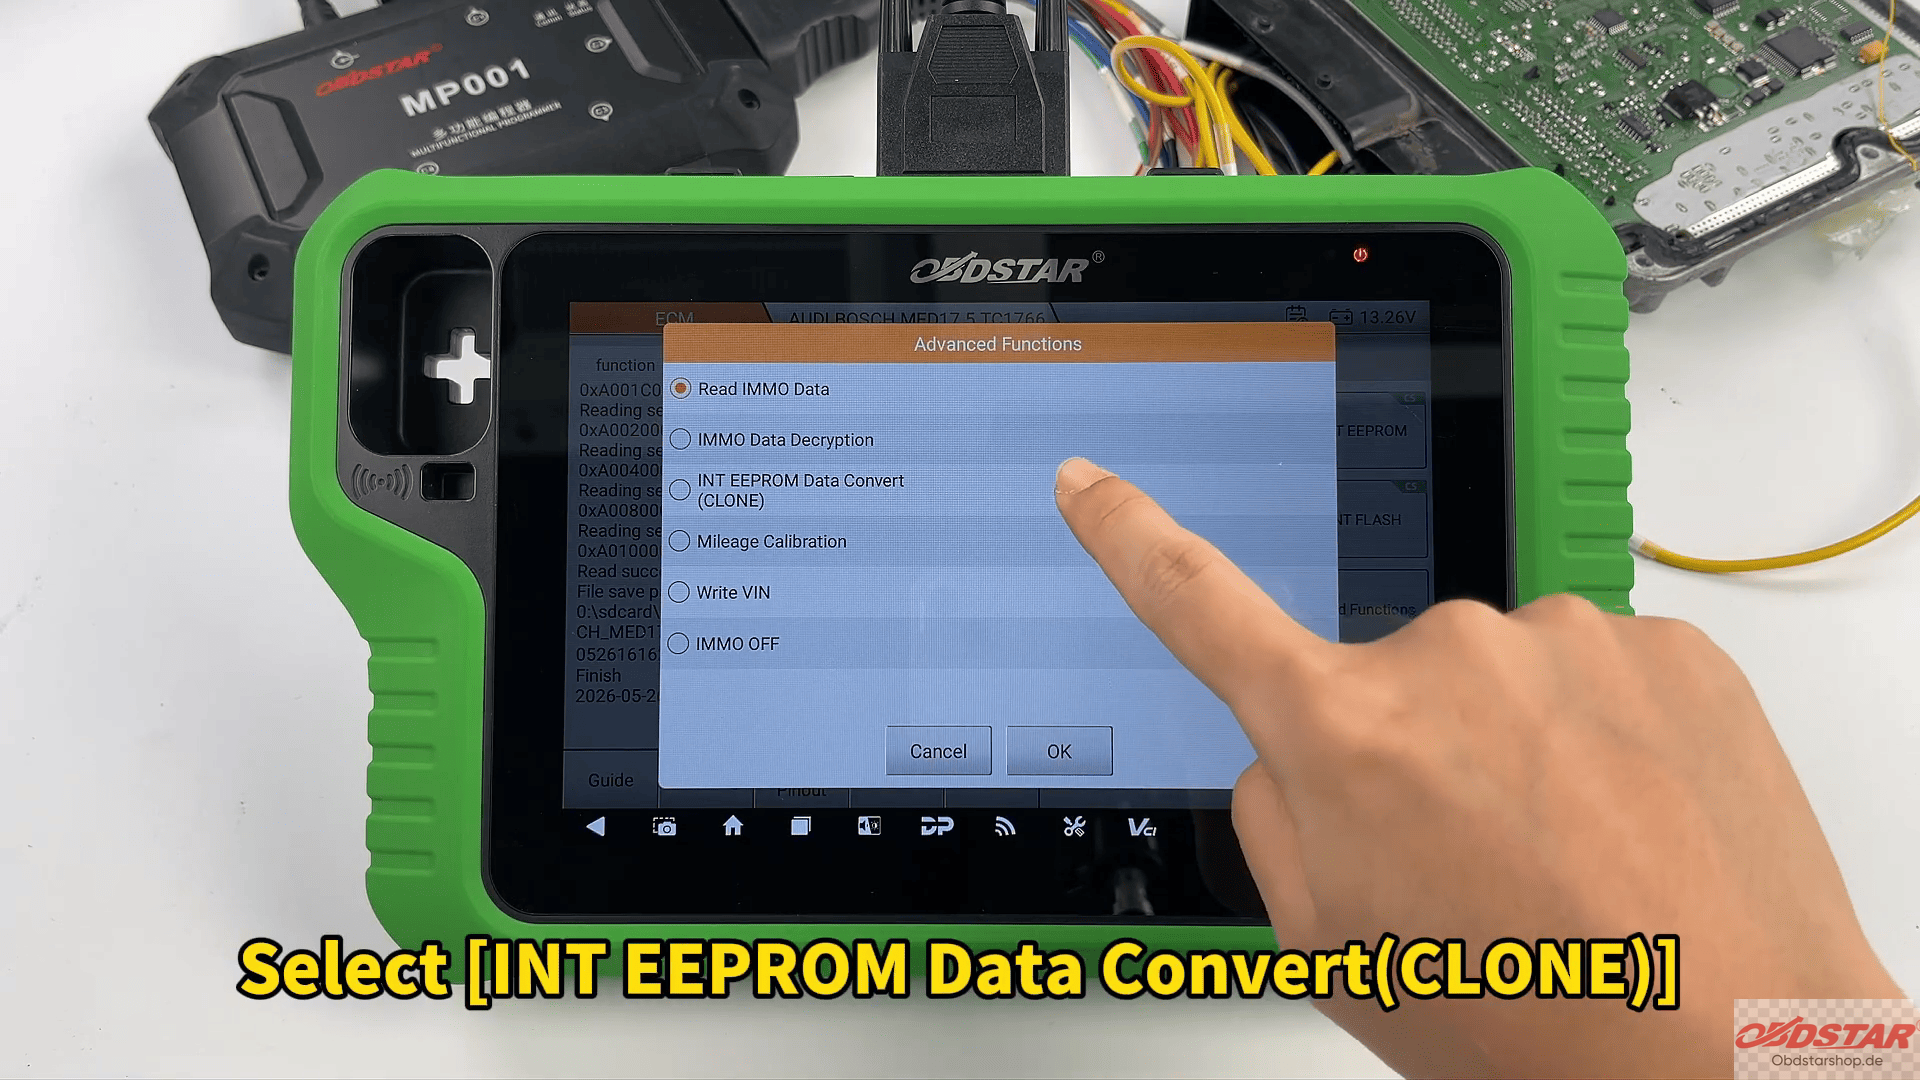
Load the original ECU data and convert it for the replacement ECU. After the conversion is complete, save the generated file and confirm the operation.
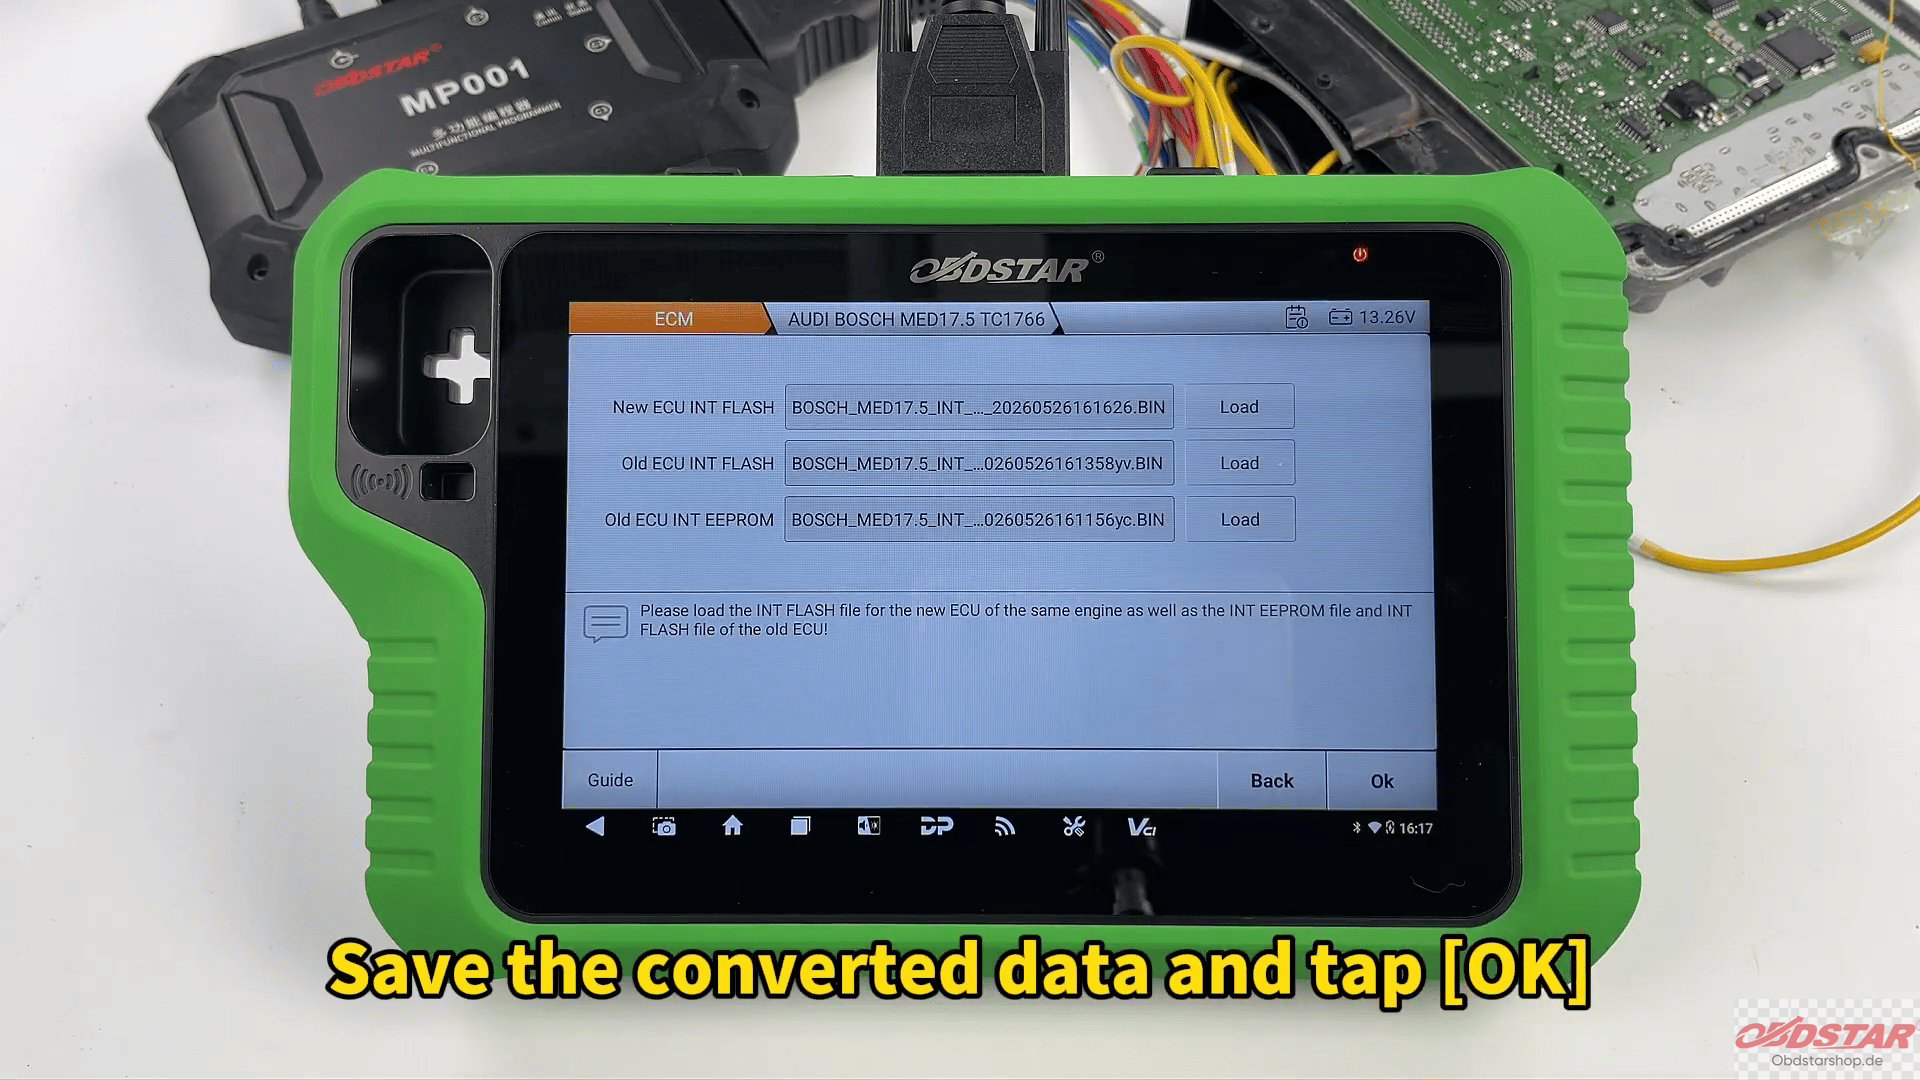
The converted data can now be written into the replacement ECU.
6. Write EEPROM and FLASH Data
Choose [Load External Data] and load the converted EEPROM file.
Confirm the information and begin writing. Once completed successfully, repeat the same process for FLASH programming.
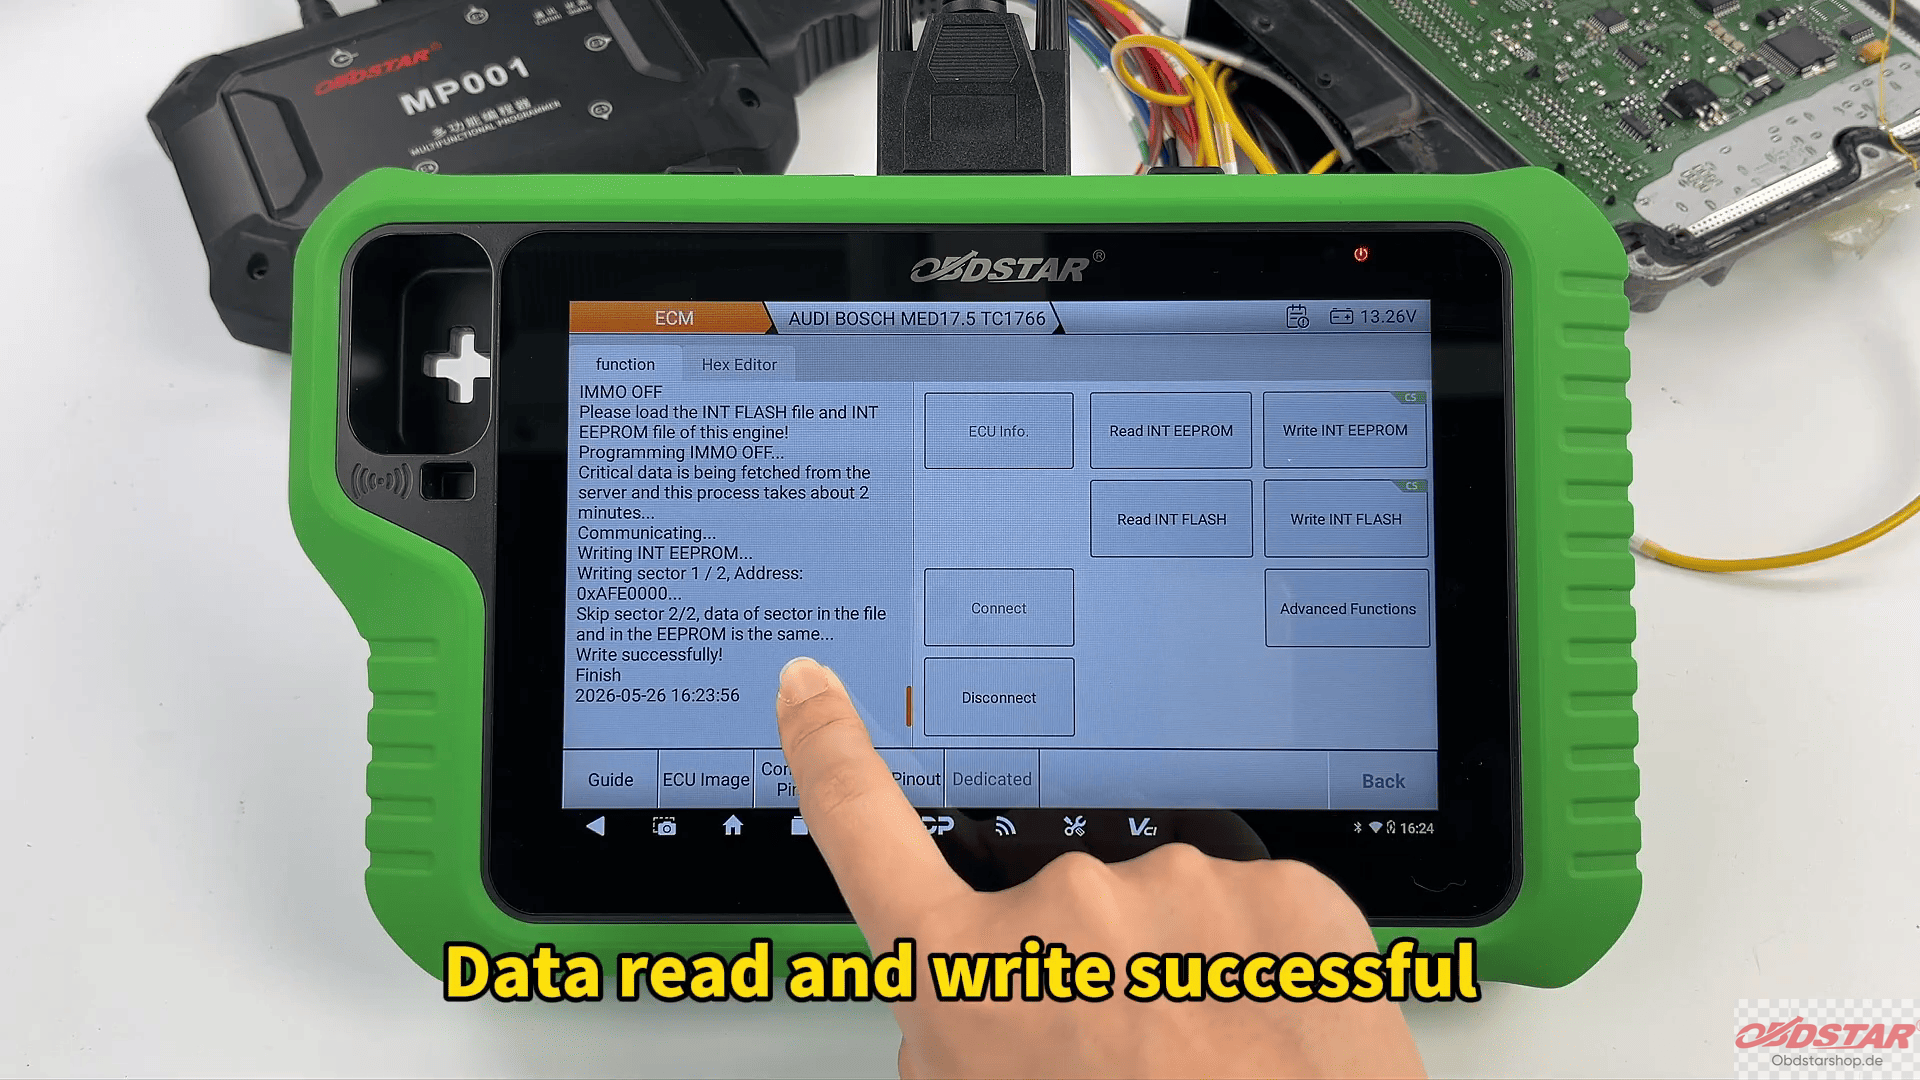
After both EEPROM and FLASH files have been written, the replacement ECU contains the cloned data from the original module.
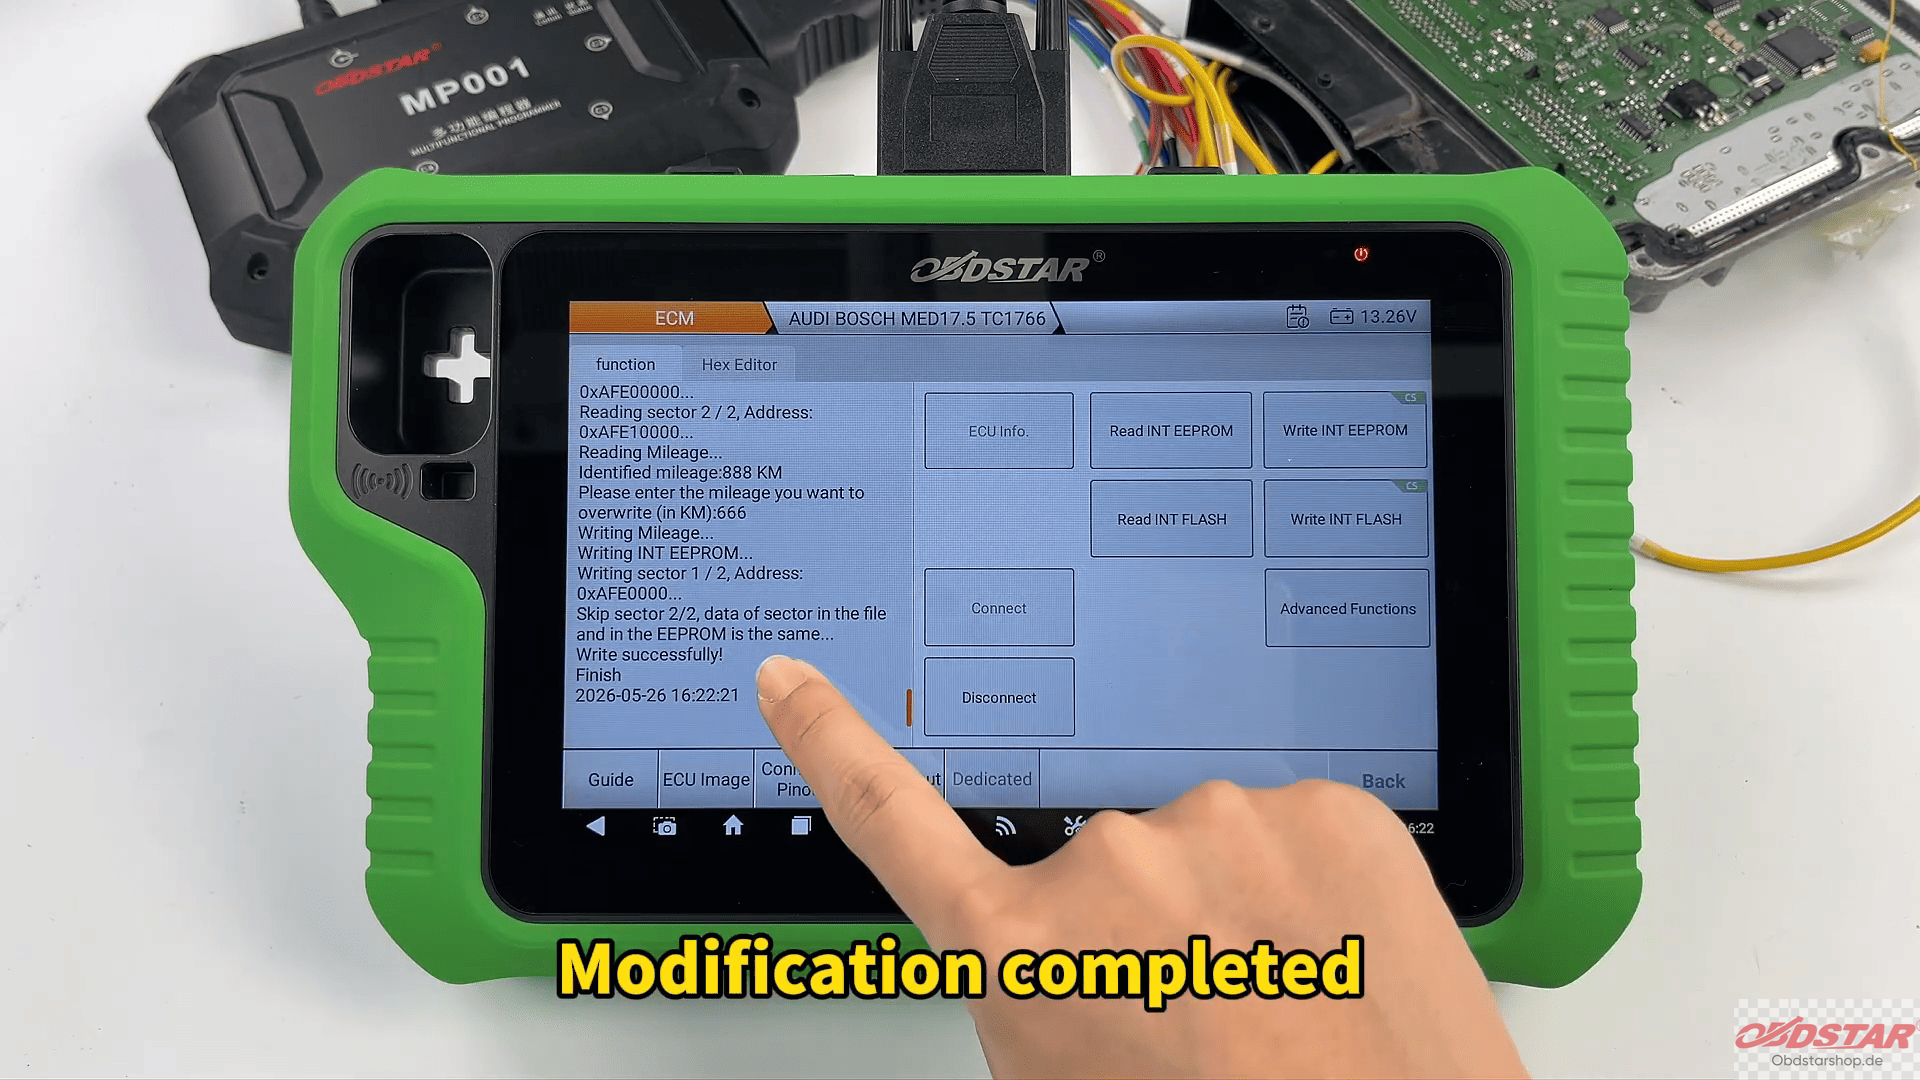
7. Perform Mileage Calibration
Navigate to [Special Functions] and select [Mileage Calibration].
Enter the desired mileage value and confirm the modification. Once completed, the updated mileage will be stored in the ECU.
8. Write a New VIN
Within [Special Functions], select [VIN Writing].
Input the target VIN, verify the information carefully, and confirm the operation. After successful writing, the ECU will contain the new vehicle identification number.
Read also:
KEYMASTER G3 Reads and Writes Mercedes TCM Data Guide
How to Program a 2018 Range Rover Key with KEYMASTER G3
Leave a Reply