


Adjusting the CO (carbon monoxide) emission level is an important procedure for maintaining optimal engine performance and ensuring compliance with emission standards. In this guide, we demonstrate how to perform CO adjustment on a Yamaha motorcycle using OBDSTAR MotoMaster.
Steps
Step 1: Enter the System
Tap [Demo]
Locate Yamaha Motorcycle
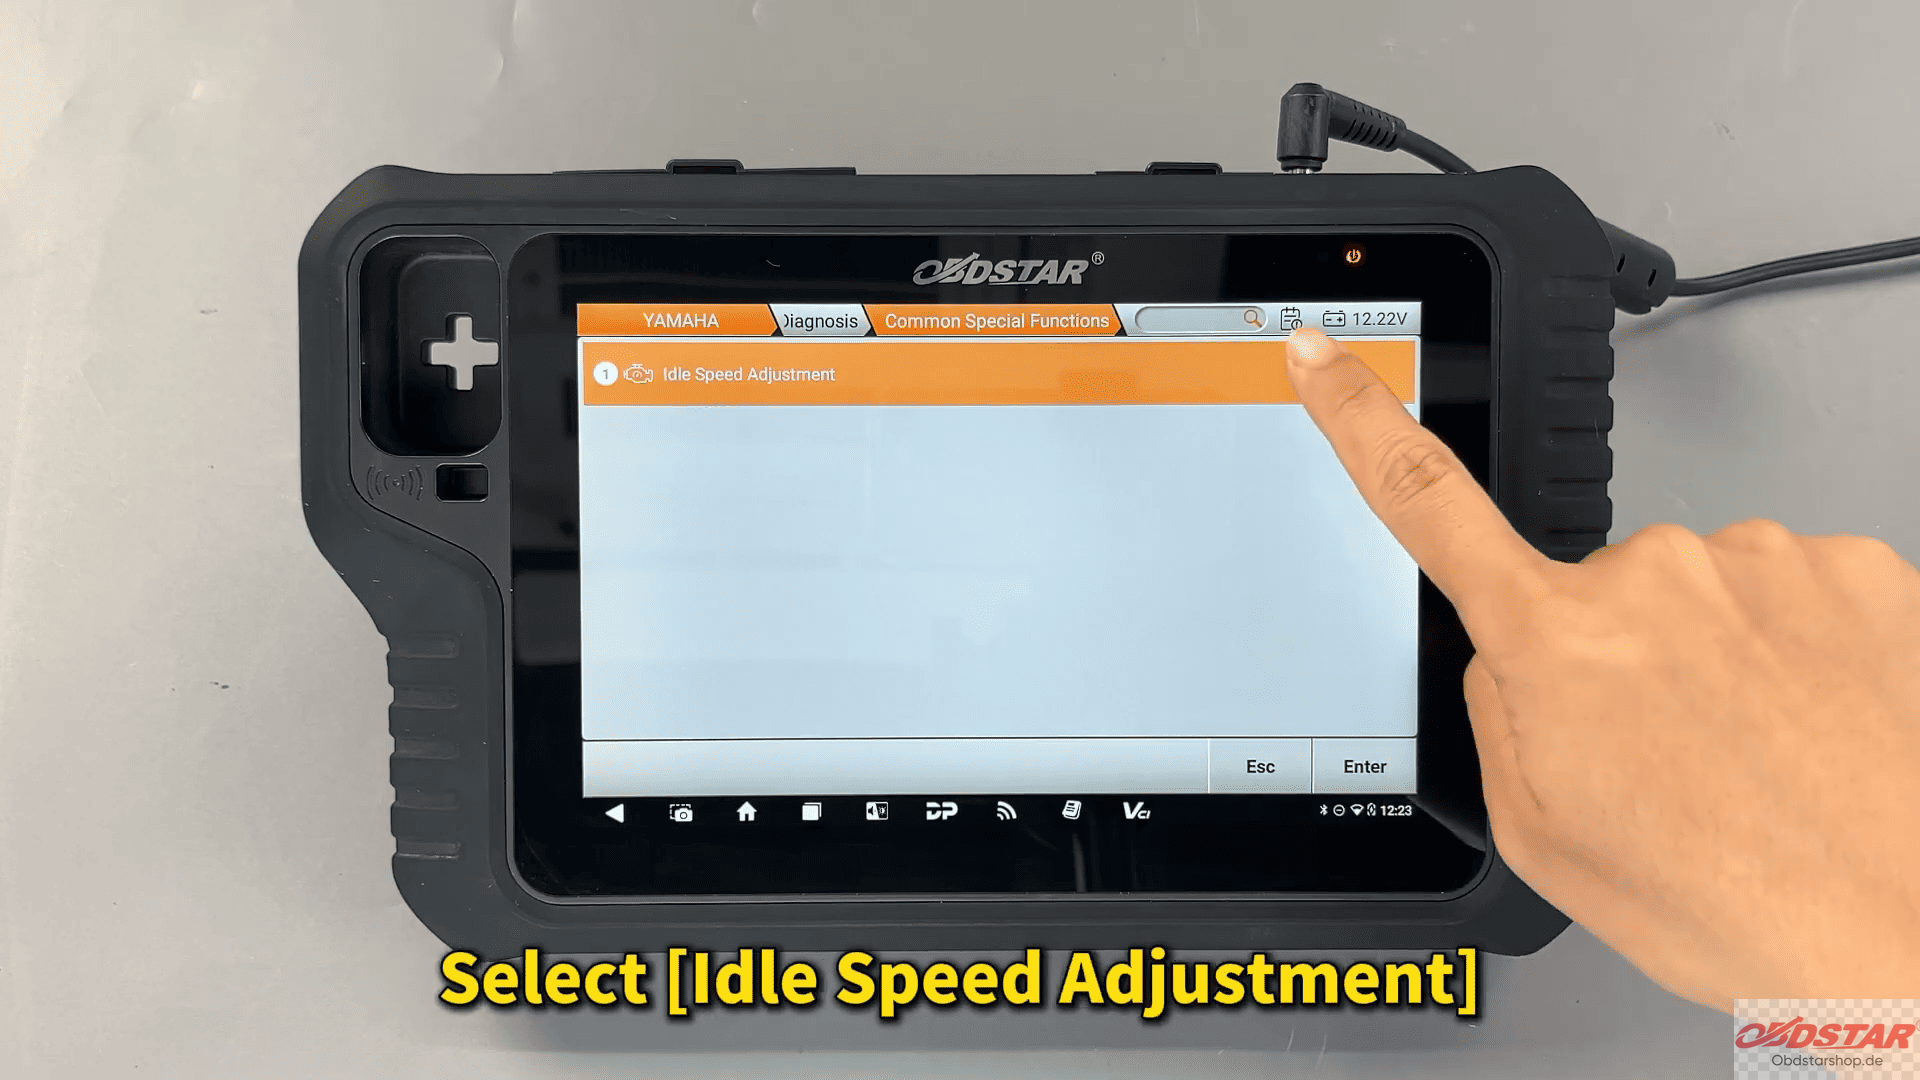
Select [Common Special Functions]
Choose [Idle Speed Adjustment]
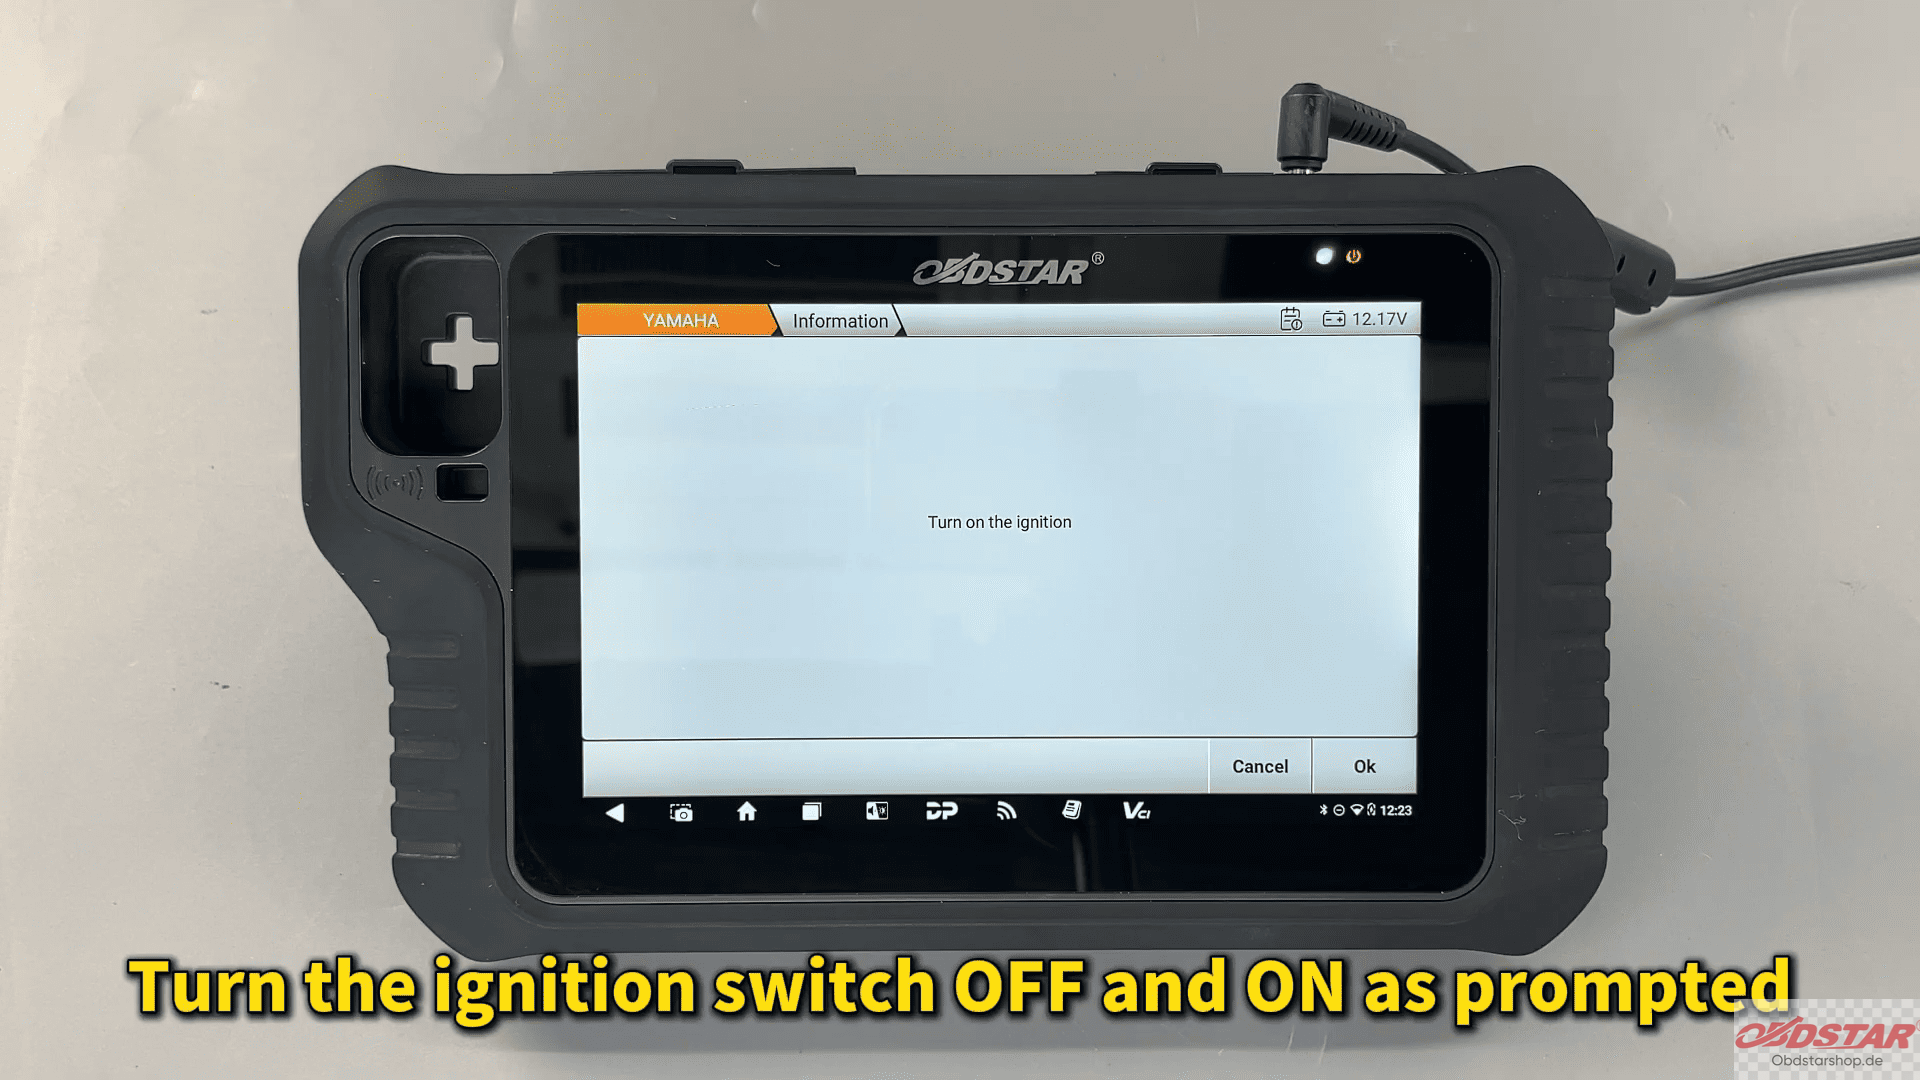
Step 2: Follow Ignition Prompts
Turn the ignition OFF and ON as instructed
Ensure stable power supply during the process
Step 3: Activate ECU
Activate the ECU
Select [Temporary Activation]
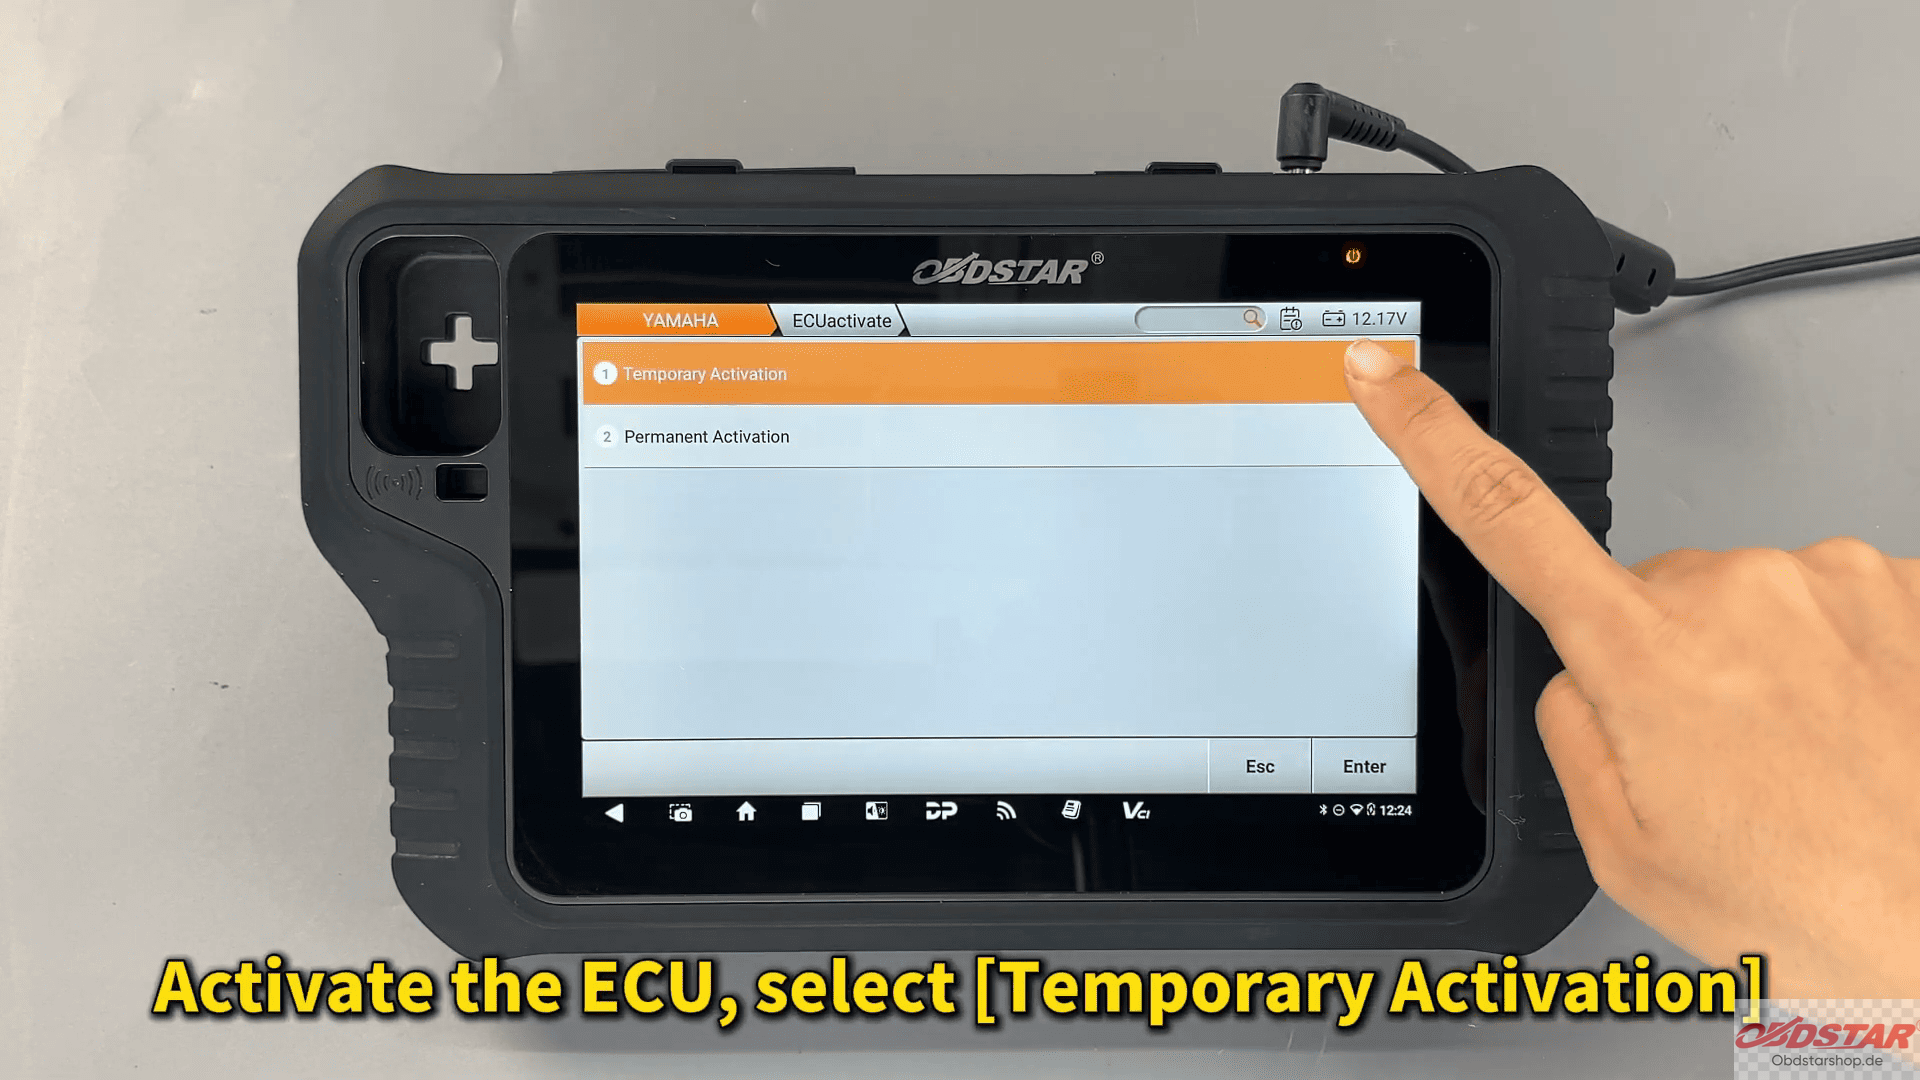
This allows access to adjustment functions without permanent changes until confirmed.
Step 4: Enter CO Adjustment
Tap [CO Volume Adjustment 3]
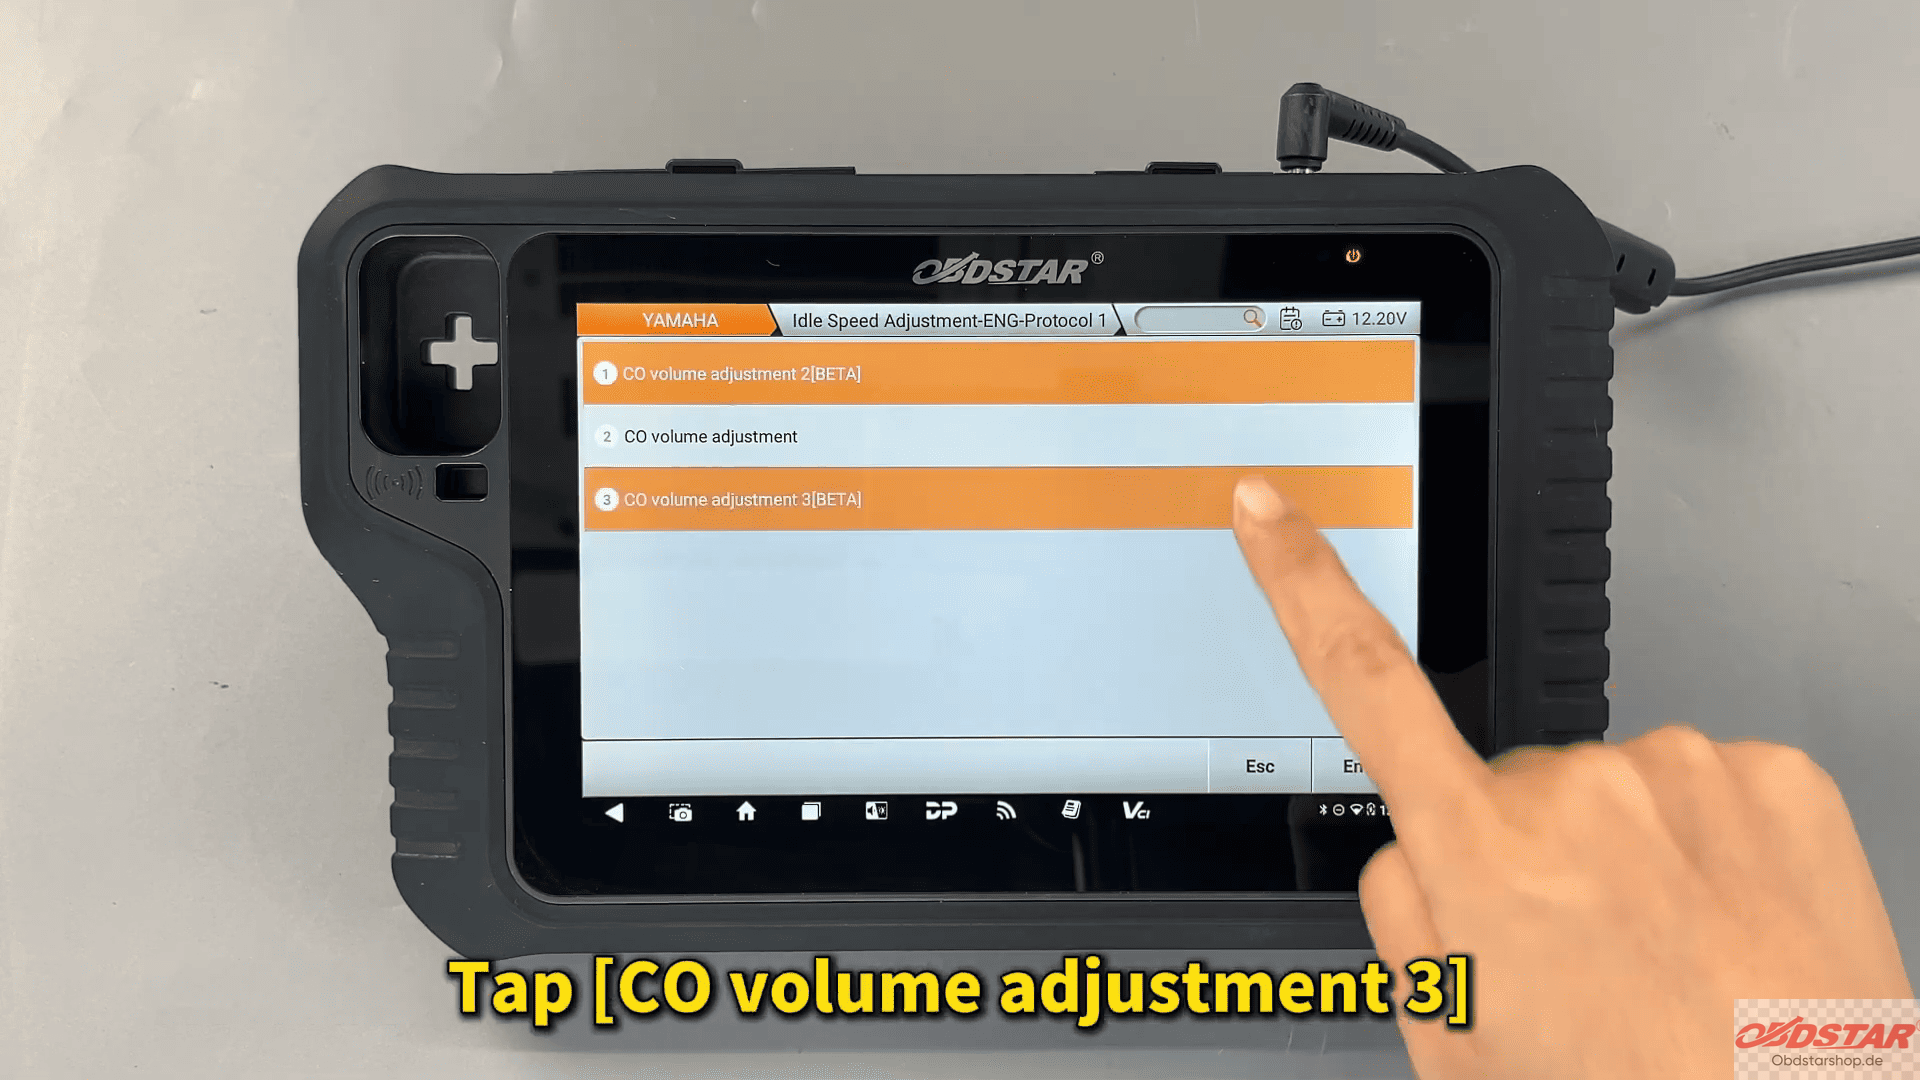
Follow the on-screen instructions carefully
Step 5: Adjust CO Value
Tap [Change Mode]
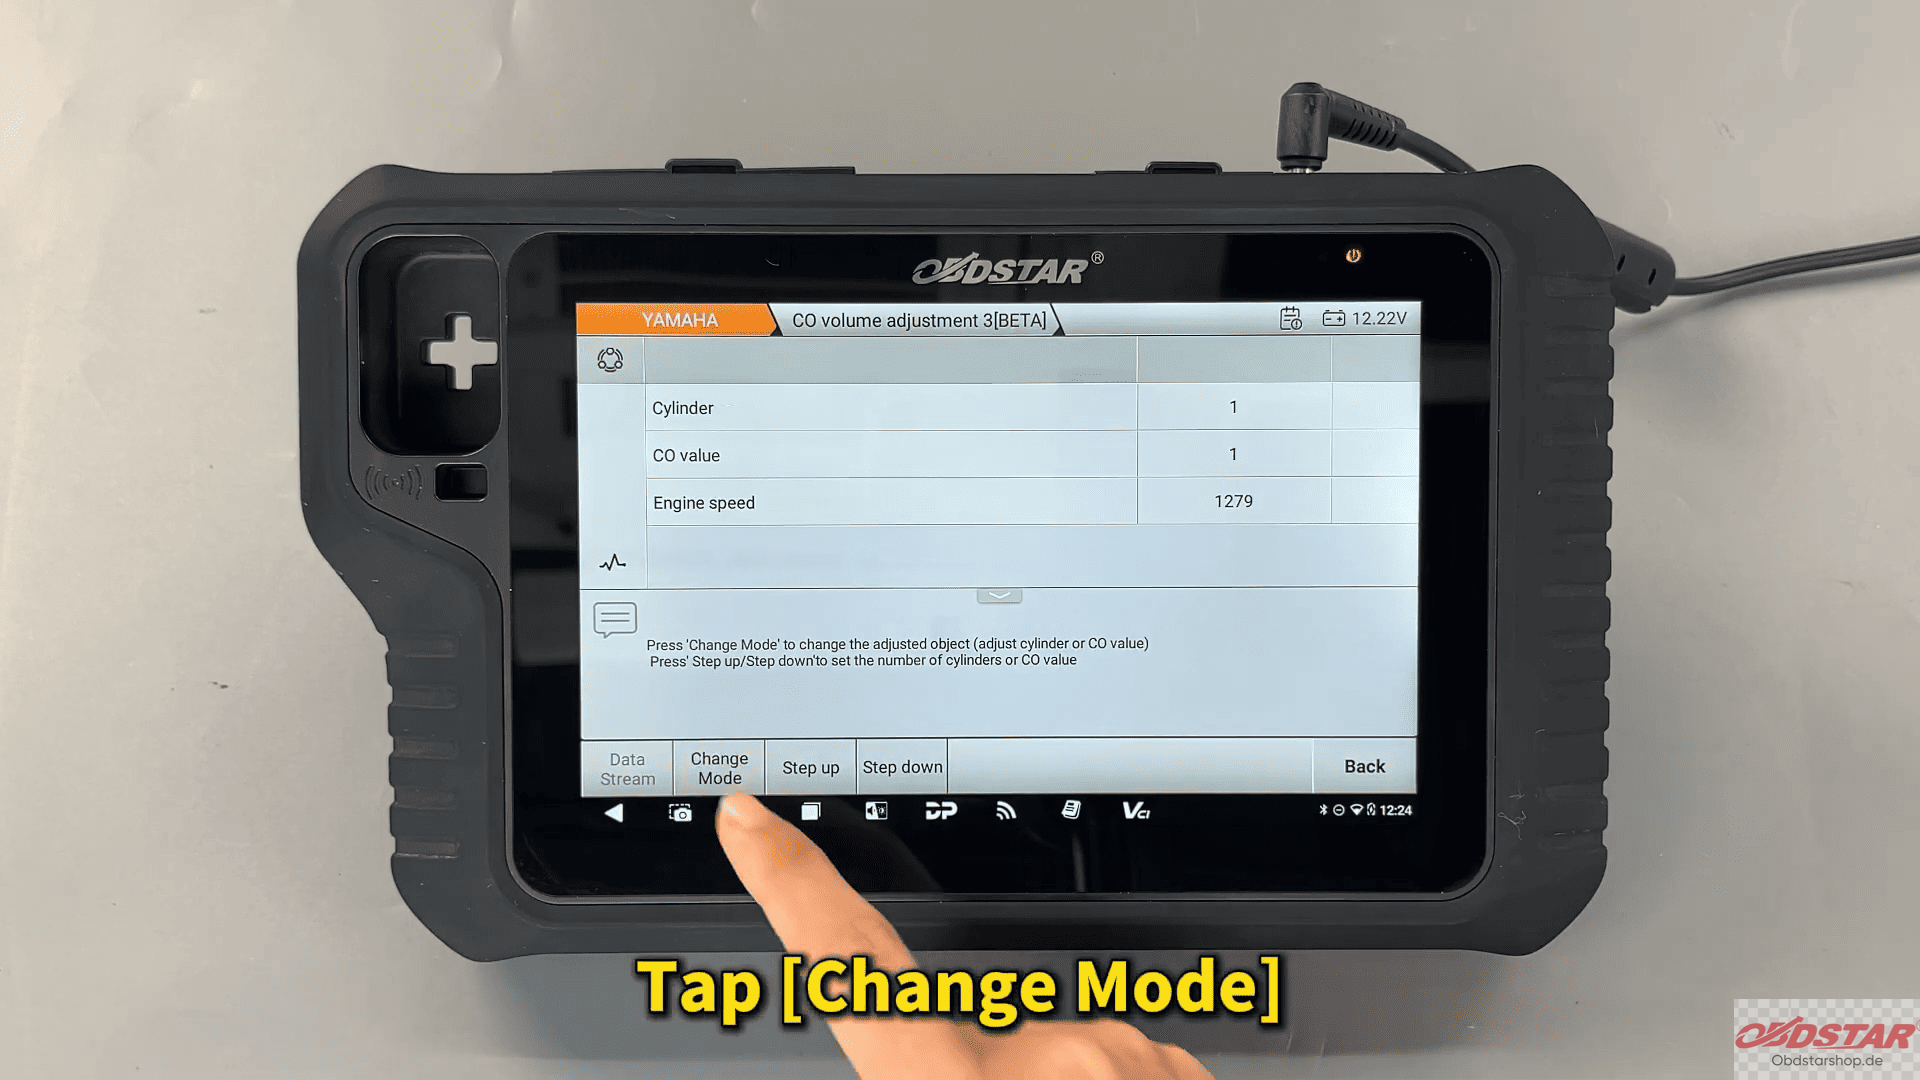
Adjust the CO value for the selected cylinder
Set up → richer mixture
Set down → leaner mixture

Make adjustments gradually to avoid engine instability.
Step 6: Confirm and Exit
After completing adjustments, tap [Back]
Ensure all changes are saved properly
Important Notes
Always monitor engine behavior during adjustment
Avoid extreme value changes
Ensure proper ventilation when working with exhaust systems
CO emission adjustment on Yamaha motorcycles becomes a simple and controlled process using OBDSTAR MotoMaster Diagnostic Scanner. With guided steps and precise control, technicians can quickly optimize engine performance and maintain emission standards.
Read also:
How to Bind OBDSTAR Device with OBDSTAR App
Leave a Reply